
*****************************
Our Blog has moved!
Please visit us
*****************************

Have you ever wondered how those bakeries make those perfectly glazed and decorated sugar cookies? We have a great bakery in the little town next to ours that makes the best sugar cookies. Word must have gotten out because the price has gone up from .50c each to $1.50 each over the past two years. Fifty cents was pushing the limit for me so when I found out they had gone up to $1.50 that was all it took for me to figure out how to make them myself. I scoured the internet searching for the different ideas and tried a lot of recipes until I finally tweaked things enough to call these the Perfect Sugar Cookies.
THE COOKIE
The Sugar Perfect Cookie Recipe
1 1/2 C. softened butter
2C. Sugar
6 eggs
2 T. baking powder
7C. flour
1/2t. salt
3t. vanilla extract
2t. almond extract
**this recipe makes 50 cookies using a 3" cookie cutter

Soften butter. I like to get mine about half melted so it creams really easy.

Add your sugar and mix until creamed

Add your eggs, vanilla and almond extract and mix until creamy
Next, I don't know about you but I hate dishes. I also can't seem to wrap my brain around how on earth that 2T of Baking powder and 1/2t of salt finds it's way into every cookie so I like to add my dry ingredients together in a gallon size ziploc so I can shake it all up. Plus when I'm done there's one less dish to do. With 4 kids, I'm all about 1 less dish!! :)

measure your flour and place into your ziploc bag

Mix your salt and baking powder.
I always mix my small amounts of dry ingredients in an already dirty measuring cup.

add it to your flower bag

Zip the bag shut and shake it up.
You should use two hands...I couldn't take the picture and use two hands. lol

Mix your dry ingredients with your creamed mixture. I usually add about 3/4 of the bag using the mixer.

I like to add the last 1/4 and mix by hand.

Once it is all mixed together place the ball of cookie dough onto a piece of wax paper and wrap it up. Then place the wrapped dough ball into your ziploc bag that you used to mix your dry ingredients.

Place your dough in the refrigerator. Refrigerate for at least an hour.
Here's a random picture of the box from these melamine bowls that I bought at Costco. THEY ARE AMAZING. If you have a Costco membership, GET THEM!! I have either bought a set, or made people get a set of these bowls. They all have lids that seal tightly and a rubber bottom so they don't slip around on your counter when you are trying to mix. They are light weight and the outside of the bowl is graduated making it so easy to grasp. UH-MA-ZING.
Ok, back to baking.

This is my favorite picture...
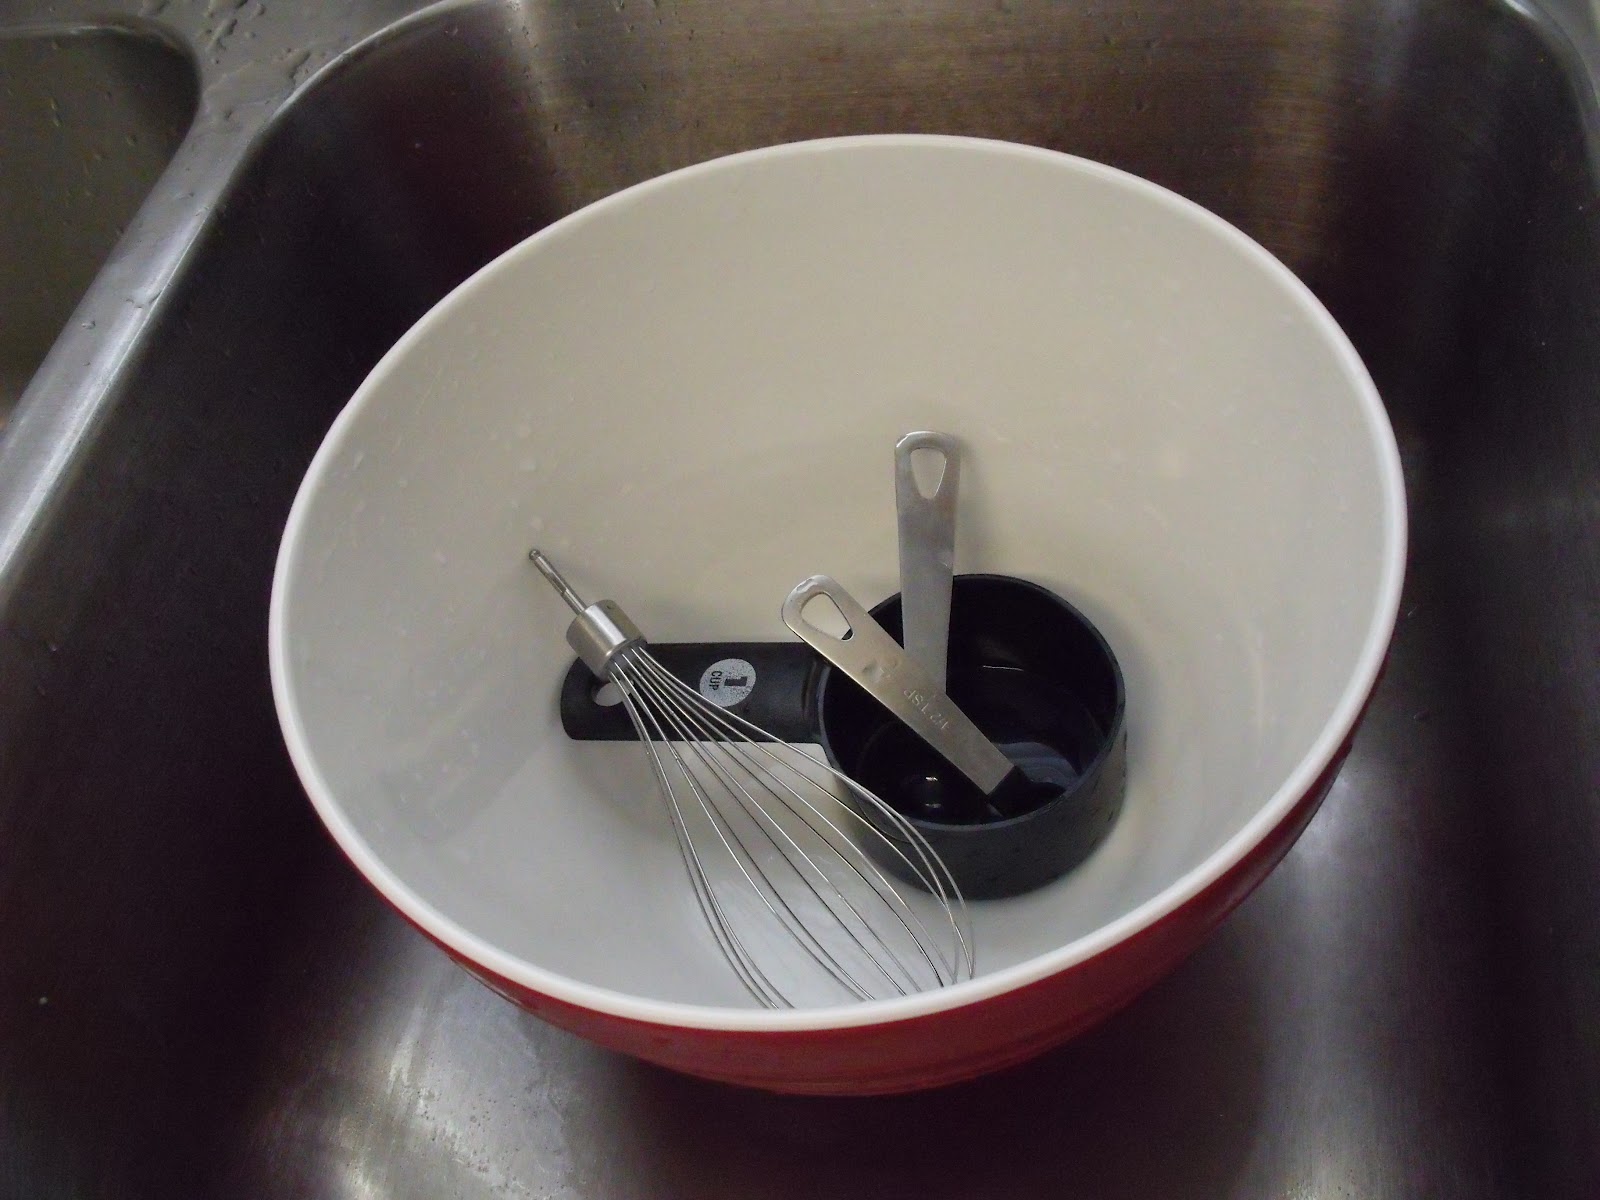
This is my sink after making these cookies. Only 4 dirty dishes!!
....moving on.
While your dough is in the chilling, you can make your glaze.
THE GLAZE
The easiest glaze you'll ever use recipe
1C. powdered sugar
1T. corn syrup
3 drops of lemon juice
3t. milk
additional milk to thin
**This makes enough to outline and glaze ten 3" cookies

place your powdered sugar in a bowl

add your corn syrup


add your milk

and a few drops of lemon juice

Now mix until it looks about like toothpaste.

**This is important**
Make sure you use GEL food color

Add your desired color.

add a little at a time until your glaze is the color you want.

At this point your glaze should feel pretty thick because you are going to use it to pipe on the outline of your cookies. You want it to be thick enough to hold it's shape until it dries.

Add some to a piping bag. I am cheap and by cheap I mean frugal ;) I always use ziploc bags.
This is what you are going to use to outline your cookies.

Add additional milk to your glaze. You don't want it to be too runny but you want to be able to manipulate it easily and have it spread to the entire surface of your cookie. I usually add about 3t. of additional milk. Cover your glaze with a tight lid so it does not dry out while you bake your cookies.
Preheat oven to 350 degrees

Remove your dough from the fridge. Place a hand full onto a piece of wax paper.

Cover with another piece of wax paper and roll out the dough to 1/4" thickness.

Cut out your cookies

This is how thick I like mine to be :)

Place your cookies on a cookie sheet. You can grease the sheet if you want to make it easier to remove the cookies. I didn't. lol

Bake for 12 minutes
(Baking times will vary with your oven. gas may take a little longer than electric, quicker if you are using convection. Play around with it until you get YOUR perfect cookie.)

Remove your cookies from the oven. They will not be brown but they will be cooked. Let them sit for a minute before removing them from the pan. Allow your cookies to cool completely.
I always cool my cookies on a double layer of paper towels. I'm sure some baker somewhere is cursing this blog post but, hey, it works for me.

Pipe on the outline of your cookies. Let them dry for at least an hour.

Spoon on your thinner glaze. Use a plastic spoon or a toothpick to push it to all corners of your cookie. If you see any bubble appear, you can use the tooth pic to pop them if you want. I was too lazy to pop any on mine. lol

Aren't they pretty? Let them set for several hours until the glaze has dried.

Pipe on your decorations.

And there you have it. The Perfect Sugar Cookie. Now go get busy.
Mother's day starts in 2 minutes.


This is amazing. I can't believe you took the time to do all this while you were baking all those cookies! Thank you so much~ I will print this out and bookmark it, just in case :) The main thing that caught my eye is piping the outline then filling it in later. Genius. That's what I didn't get, how you got a thin glaze spread so neatly and then not oozing over the edges. THANK YOU
ReplyDeleteThanks for the tutorial! And Miss Isabella is adorable!
ReplyDeleteI just found your web site today and have been browsing. Great tutorial. And the cookies and packaging are so cute.
ReplyDeleteI took a cookie class from a professional baker once who showed me a great tip for rolling out the dough quickly and perfectly even and flat. She used a thin wood dowel on either side of the rolling pin, rolled the dough out flat until the rolling pin was rolling on top of the dowels on each side.
I bought 3 foot long 1/4 square dowel at Home Depot for less that a dollar. They cut it in half for me. I put them and the dough between two pieces of parchment paper and roll it out. I keep them with my rolling pin and parchment paper.
Thanks for the tutorial.